


How To Cope With Your Radial Nerve Injury
The Radial Nerve
If you place your finger on the underside of your forearm, trace all the way up your arm, past your triceps, and to your armpit, you have just followed the path of your Radial Nerve. The Radial Nerve is one of the three major nerves of the arm. It is responsible for the communication of your arm, forearm, and hand, extending into the wrist and fingers.
Radial Nerve Flossing
Now, stand up and place your arms at your side with your palms facing behind you. Tilt your head to the left, as if you were to rest it against your left shoulder. Take your right hand and flex your wrist, so your palm moves up and down.
Does this cause you any discomfort or pain? If it does, it is likely that you have a radial nerve injury. Not only does this exercise identify the pain you are feeling, but it also helps to restore the normal movement of your nerve. This is a great way to help treat your injury, getting you back to your normal condition.
Radial Nerve Injury
If you are experiencing pain or discomfort after breaking your humerus bone, sleeping with your arm in an unusual position, or any sort of unusual and excessive pressure to your arm, it is likely that you have a radial nerve injury.
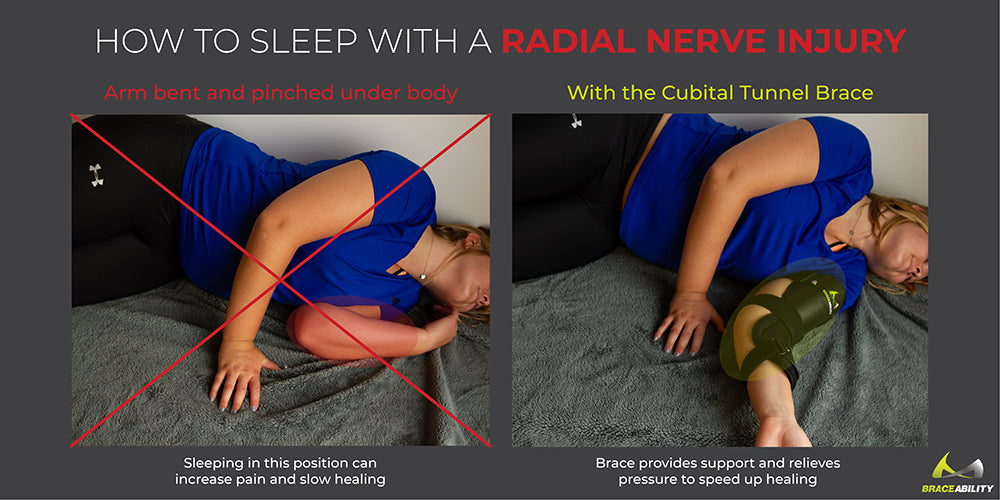
If you suffer from radial nerve pain, it’s important to make sure you are sleeping without increasing the pain of the injury. This cubital tunnel brace can do just this trick by helping to relieve pressure while you sleep.
Injuries similar to a radial nerve injury can also occur in infants during the birthing process. The most common injury of this nature is Brachial Plexus Palsy. The Brachial Plexus starts in the back of the neck and extends through the armpit. It is central to the operation of a person’s arm hands and fingers.

During childbirth, the brachial plexus can be damaged by:
- The head and neck being pulled toward the side as the shoulders pass through the birth canal
- The shoulders of the infant stretching during a head-first delivery
- Pressure on the baby’s raised arms during a breech delivery
The symptoms of Brachial Plexus Palsy are almost identical to the symptoms of Radial Nerve Palsy, which can be seen below. In order to treat this condition, it is recommended to do gentle massages to the arm and range of motion exercises. An immobilizing splint for infants can also be helpful.
Radial Nerve Palsy
Radial Nerve Palsy (also called Radial Nerve Neuropathy) occurs when pressure or entrapment occurs to the radial nerve by occurrences like a growth such as a tumor a cyst, a tight watch, or the improper use of crutches pressing under the arm. This form of palsy can also be caused by fracture or dislocations as well as cuts deep enough to sever the radial nerve.
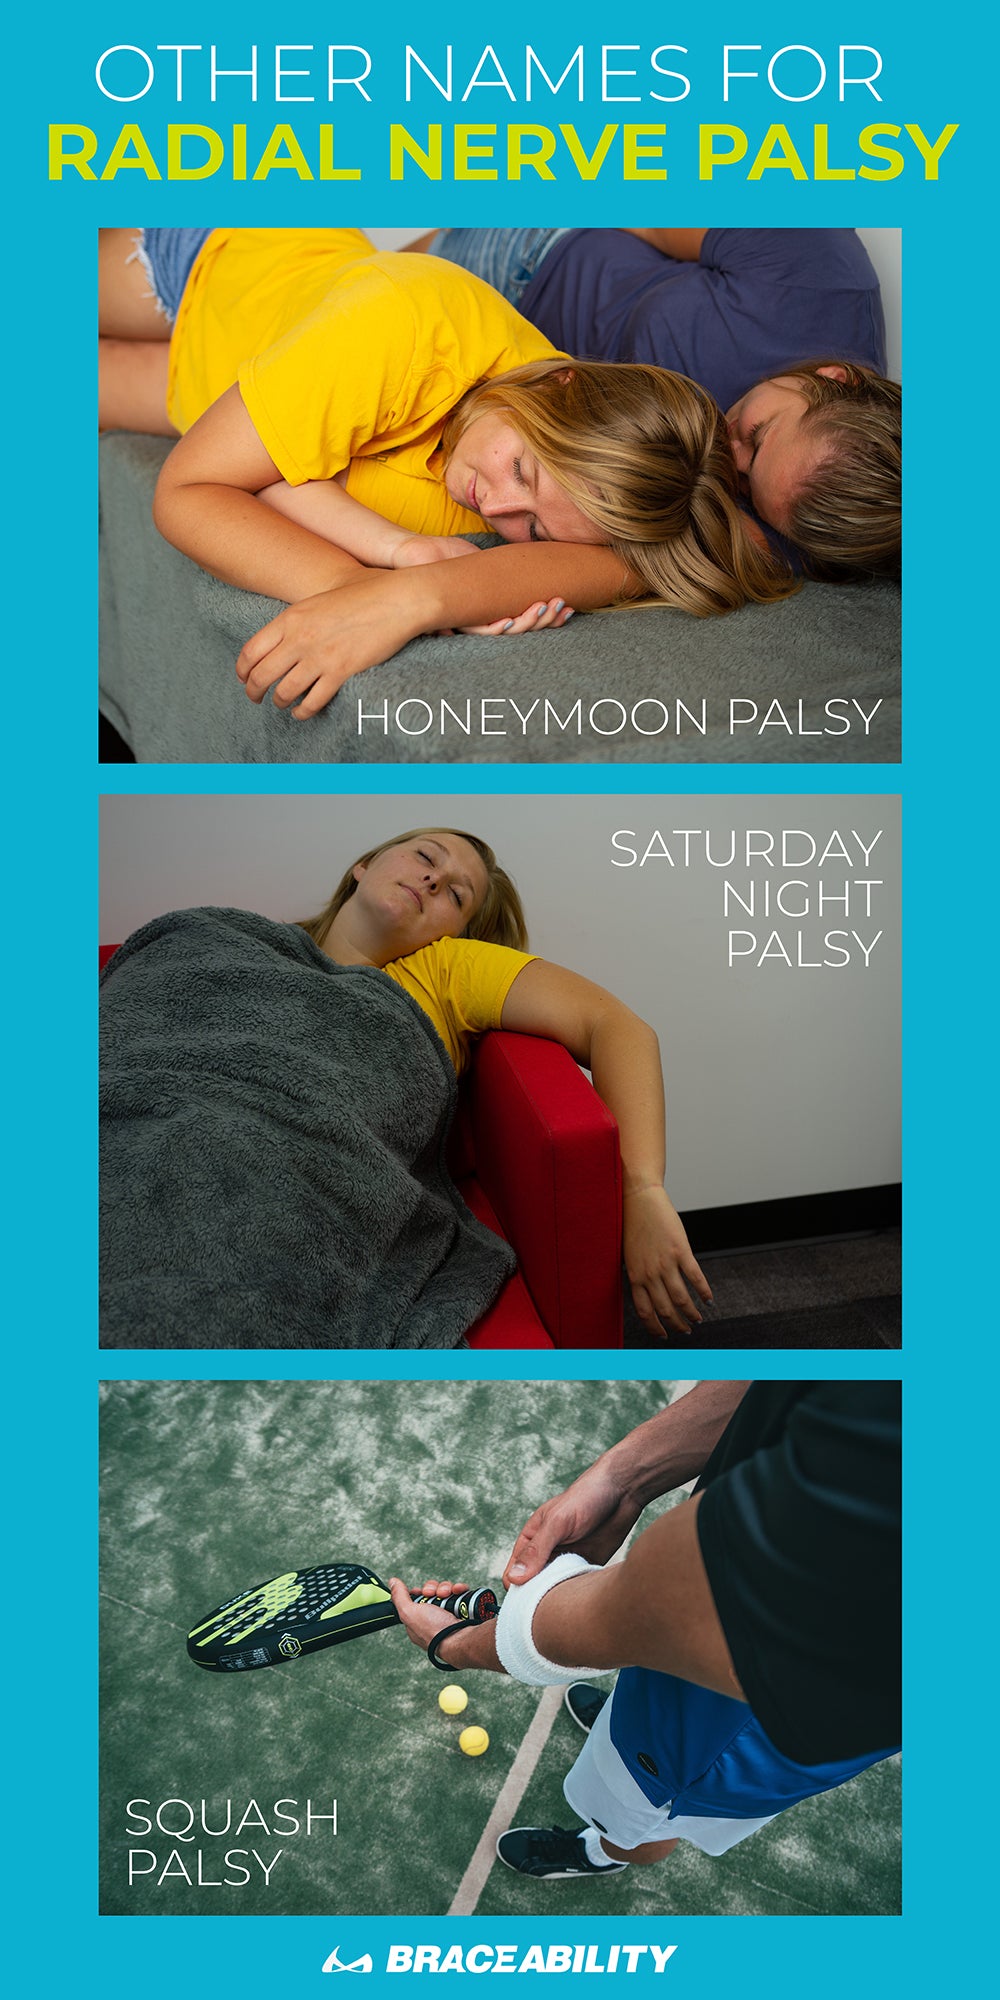
Radial Nerve Palsy can be referred to by different names depending on how it is caused:
- Honeymoon Palsy - occurs from another person sleeping on and compressing your arm overnight
- Saturday Night Palsy - occurs from falling asleep with your arm hanging over the armrest of a chair
- Squash Palsy - occurs during a sporting event when players participate in the sport 'squash’
Symptoms of Radial Nerve Palsy
- Numbness from triceps to fingers
- Difficulty pinching and grasping
- Difficulty extending wrist and fingers
- Weakness of arm muscles
- Wrist drop
What is Wrist Drop and Why Does A Radial Nerve Injury Cause It?
Wrist drop is a condition that typically accompanies Radial Nerve Palsy. If you are suffering from wrist drop, you will be unable to extend your fingers and wrist. You will have no control over your wrist or fingers.
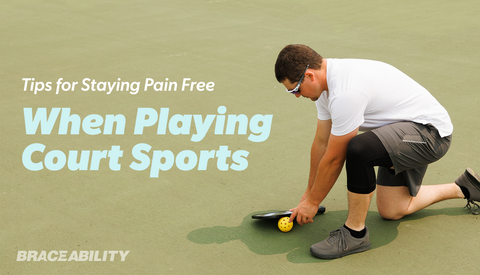
The main cause of wrist drop is overuse of the wrist and hands. This condition is commonly seen in athletes who play sports like tennis or badminton. It can also be seen in people who consistently lift heavy weights.
Exercises for Treating Wrist Drop
- Ball Squeeze: Find a soft foam ball. Wrap all five of your fingers around the ball. Squeeze and then relax your hand. Repeat this at least fifteen times.
- Rubber Band Stretch: Take a rubber band and place it around all five fingers on one hand. Stretch your fingers out as wide as you can, using the rubber band as resistance, then relax them again. Do three sets of 25 repetitions on both hands. Add extra rubber bands to create extra resistance as you build up strength in your wrist and fingers.
- Hammer Rotation: You will need a hammer, wrench or similar long, thin implement for this exercise. Make sure it is not too heavy, especially if your wrists are tender or weak. Take your chosen implement in one hand and lean forward in a chair to rest that arm on your thigh. Your palm should be facing inwards then slowly turn your wrist downwards so your palm is facing the floor. Turn it back to the start position then rotate your palm upwards so it’s facing the ceiling. Repeat as many times as you can on both arms.
- Wrist Stretch: Sit up straight in a chair and holding one arm straight out in front of you, parallel to the floor with your palm facing down. Use your other hand to gently bend the wrist of your outstretched arm down so your fingers are pointing towards the floor. Hold for about 10 seconds then slowly release and bend the wrist up. Use your other hand to apply gentle pressure in both directions--you should feel a pull but stop immediately if you feel any pain. Repeat the exercise on your other arm.
Radial Nerve Palsy Exercises for Treatment & Recovery
- The Water Spout: Hold your arm out straight from your body, parallel to the floor. Then hold an empty cup in the outstretched hand and turn it upside down as if pouring out water.
- Figure Eight: Stand leaning forward with your unaffected hand on a worktop/back of a chair for support. Swing your affected arm in a figure eight motion. When your hand comes closest to your body, face your palm outward. When your hand is farthest from your body, face your palm inward.
- Hide and Seek: Hold elbow out away from your side. Hold arm at a 90-degree angle with your palm facing up. Rotate your forearm behind your elbow while keeping your elbow in place. Your palm should end up facing the ceiling again, but this time behind your elbow. Turn your head to look at your fingers.
- Don’t Forget to Tip: Look towards the affected side. Take your hand behind your back as if to accept a backhanded tip. Move fingers up and down.
- The Water Pump: Hold hands in twisted position as shown. Bring hands up and down in a pumping motion.
- Table Stretch: Keep the back of your hand flat on the table and rotate your whole body away.
- Self-Massage: Massage your back in a circular motion. Depending on the side affected, the right hand should circle counter-clockwise, with the left hand circling clockwise.